Sunday 30 August 2020

2019/20 Hobby Season Review


Hi folks,

When I was preparing for the 2019/20 Hobby Season I was coming off the back of a pretty hard year, so I wasn't too ambitious with my To-Do list. I was a bit disenchanted by 40K, so focussed mainly on aiming to get my Space Hulk set painted. As you all know, this year really has been balls. I spent most of summer in Tasmania, which was amazing, but when I came home I always had one eye on the horizon and the other on my Bushfires Near Me app. With some time spent working from home due to the pandemic, you would think that there would be some extra time for painting, but it just wasn't the case. As a teacher, I found my workload more than doubled; things that I could usually do quickly were taking me a lot longer. Despite that, I did manage to do a whole of bunch of stuff I would have never imagined when I wrote my To-Do list. And, no, I didn't get my whole Space Hulk set painted...

Here is a trip down memory lane:


Warhammer 40K


Iron Snakes


A big year for my Iron Snakes, I managed to finish a 2000 points army that included some new Primaries figures. Squad Damocles, a 10 man Intercessor squad equipped with boarding shields, was completed for Squaduary.


Imperial Knights


For DreadTober I completed the second knight of my Walls of Ithaka detachment. This is "Theseus" Ferrum Fortis (Strong Punch!). 


Dark Angels


For Armour in April I finished this Landraider Excelsior, just in time for it to be relegated to "Legends" (or whatever they call those things now). Ah well, still a cool model, and very likely to be used in my casual games.


2nd Edition Army Challenge


Recently I have embarked on a 6 month challenge to complete a 1000 point army using 2nd Edition sculpts. I have opted for a classic Dark Angels scheme, starting the challenge with a repaint of two of my oldest figures; a Deathwing Master and Dreadnought.


Age of Sigmar


This year I managed to finish some figures that my daughter had chosen for herself. I also caught the Age of Sigmar bug and dove into Sylvaneth. To help motivate me as I started I entered some painting competitions along the way, all at my local Warhammer store. I won the Brushmaster title for the Treelord Ancient and the Kurnoth Hunters, with both the Kurnoth Hunters and my daughters Sisters of the Thorn featured for a short time on the Age of Sigmar Facebook group! Small wins, but they sure did keep me going during the tough initial slog through isolation. To be honest, the Treelord is probably my best work, it really, really, challenged me. 


Space Hulk


Well, this was meant to be the focus of my season. If you have managed to get to this stage in the post you can see just how distracted I was! I did manage to get the commanders done for each of the teams apart from the Fallen, which I painted the full team for. Calistarius, the Blood Angels Librarian was the real highlight, completed for The Jewel of July community challenge. The Broodlord was my Monster March entry.


Kill Team


I managed to speed-paint a H. R. Giger inspired Kill Team, as an alternative to my 4 Lictor murder list. I haven't tried it out yet, but I sure am looking forward to the Aliens quotes.


BattleTech


I know most of you are here for the 40K, and perhaps meander into Age of Sigmar like I do as well. But I also play a couple of other systems that do a great job of dividing my attention. With the delays to the Clan Invasion Kickstarter, BattleTech hasn't drawn my attention as much as it could have this year, but I still managed to paint a neat lance of mercenaries and a larger scaled piece for my mate Wade.


Phew, that's it, I think. 2019/20 has been crazy busy. I managed to get a lot more done than I ever intended, but I am still glad to put this year behind me. Tomorrow I will post my To-Do list for 2020/21!

See you across the table,

Marc


Saturday 29 August 2020

Space Hulk: Fallen Angels Boarding Party TO-DONE!!!


Hi folks,

I have juuuuust managed to squeeze one last project out of the 2019/20 Hobby Season. This is a squad Fallen terminators I will be using for Space Hulk, Kill Team and perhaps a small 40K army. The paint scheme for Fallen is pretty simple, so I made it harder for myself and added some checkered patterns. If you look close enough at them you can see they are not quite as neat and even as they should be, but in large amounts I think they are a cool addition.


Well, that's it for this season. Tomorrow I will post a season wrap-up with all that has been achieved and some of what could have been. After that I'll have a new To-Do list, full of interesting projects for 9th Edition, 2nd Edition, Kill Team, Space Hulk and Age of Sigmar. I have not decided what I will work on next; with the release of 9th Edition, the current 2nd Edition Army challenge and DreadTober around the corner, I am spoiled for choices! But I am getting ahead of myself; here is my last TO-DONE of the season!!


See you across the table,

Marc


Thursday 20 August 2020

Space Hulk: Fallen Angels Test Model


Hi folks,

Just a quick update today, as I am knackered from work and have a couple of hours of work lesson prep to do before tomorrow. Last weekend I worked on a test paint-scheme for my Fallen Angel boarding party and came up with this guy. I have used a combination of the checkered patterns on the Forgeworld 30K Dark Angels with the red helmet stripe of old school Dark Angels.


I am happy with how neat the job turned out, especially considering how fast I cranked through the free-hand parts. They are far from perfect, but at this stage I just need to get them finished. The bases are 32 mm, which is perfect for Space Hulk but a tad small for 40K; I doubt anyone I play against would care though.


With the test model fairly successful, I'm happy to commit to the next four over the next couple of days. With 11 days left in this Hobby Season I may just fit a squad of Blood Angels in as well! Fingers crossed!


See you across the table,

Marc


Tuesday 11 August 2020

2nd Edition Army Challenge: Master Gabriel of Deathwing TO-DONE!!!


Hi folks,

The goal of the 2nd Edition Army Challenge is to paint 200 points of 2nd Edition goodness every month until January, with one month free to accomodate the way real life tends to jank with these kinds of challenges. That would give as a 1000 point army ready to play with come January. This month, I planned to paint my commander, a Master of Deathwing armed with a stormbolter, auxiliary grenade launcher and lightning claw. I knew I was going to be a little under the goal of 200 points, as the Master clock it at 148, so I resolved to retouch my old school heavy plasma Dreadnought to fit the army scheme as well. To complicate things, August happens to be the last month of my yearly Hobby Season, which is full of last ditch efforts to tick off projects I had planned for the year. That in mind, I really pushed myself to get the Master done in my ~ 30-60 minutes of free time every night. If you have been following my #hobbystreak on Twitter or Instagram, you would seen the progress over the past couple of days. Here is the final product!


The paint scheme is really, really old school. The stark white for Deathwing was really introduced during the Space Hulk expansion and in some artworks; by the time the dedicated figures for GW had been released they were already shifting to the modern bone-white colour. I am seeing more and more old paint schemes popping up in the current edition, so look forward to painting some of the newer Terminators in this scheme.

I was a bit jealous of all the people painting stripes in the challenge, so managed to fit one in on the left side of the storm bolter. You may think that is a strange place to put a big red stripe... but I have reference material suggesting it was a good spot...


The Deathwing symbol is a decal from a huge sheet I was given as a gift many moons ago. It is the gift that keeps on giving. Some decal setting solution helped soften it to fit the pad. The feathers were painted in my usual green/red fade, instead of the white/red/black of the GW scheme. White white already in the scheme, I wanted to double-down on the spot colours. With green robes, I also painted the stormbolter black to avoid it blending in. I may end up doing this with the other stormbolters as well (which would usually be green).  The auxiliary grenade launcher is a piece of sprue from my X-wing model!


I love how the lightning claw turned out; even if the join isn't the neatest. That conversion is over 20 years old, so I was loath to fix it up for the sake of nostalgia. I always wanted to painted my Deathwing claws red, but never had the guts to do it; now is the time!

The flock on the robes is loose and I'll be brushing it off. I probably should have done that before taking photos, but there is always something I forget before taking photos :-)

So, 1st month of the challenge is done in record time, leaving some room to paint some more Space Hulk figures before the end of the Hobby Season. Considering the detail on the Master, with the addition of the Dreadnought, I am really pleased with the progress so far. It will be interesting to see how I go next month when I start work on the squads!


See you across the table,

Marc


Friday 7 August 2020

2nd Edition Army Challenge: Dreadnought TO-DONE!!!


Hi folks,

To ease myself into the 2nd Edition Army Challenge, I have repainted my old 2nd Edition Space Marine Dreadnought in the distinctive panoply of 1990's 40K. Every time instinct told me to go grim/dark, I busted out the bright red, orange and gold! I can't tell you how much this challenge is pulling at my heart strings; the nostalgia is STRONG. 


The banner was printed with all the colour desaturated, allowing me to paint what I wanted over the top. I think it is within my ability to free-hand a banner like this, but I didn't really want to spend too much time on it. The gold on the sarcophagus really nails the 2nd Edition brief; I can distinctly remember deciding NOT to do it that way during 3rd edition to distance my collection from 2nd Ed. Well, I'm back now baby.


The powerfist is a plastic replacement part, as the old metal piece is corroded badly and missing the storm bolter barrels. I used to have it converted as a plasma blaster, which wasn't really allowed in the rules but my mates thought it was cool so it stayed. I typically equipped it with electro hull as well, to really double down on the storm theme. 


I have told the story of this plasma cannon a few times, but it is still worth mentioning here. This was one of my first conversions. My mother had bought me a Furioso Dreadnought back when I was starting to collect Legion of the Damned. When that project went down in flames (pun intended) I soon switched to Dark Angels. I loved using dreadnought heavy plasma guns in the game, so though I would try making one. As an essentially cashless young teenager, buying a heavy plasma devastator just so I could chop it up was a bit mental. I used an old hacksaw blade with no handle to make the cut, taking about an hour. My fingers were so sore from holding the blade I remember wrapping them in a tea towel to finish it off. When it was finished and had replaced the multimelta barrel, I remember feeling a bit shocked at what I had done; it really set the tone for the rest of my hobby efforts over the next 25 years. If it ain't broke, consider cutting into parts and swapping everything.

Finally, I whipped around the rim of the base with some Warboss Green, which is a pretty good stand in for the venerable Goblin Green.


Expect quite a bit more of that in this challenge!

See you across the table,

Marc


Miniature Photography: Digital Editing Basics


Hi folks,

This post is a short tutorial on how you can use some free online editing tools to get the most out of your miniature photography. I am by no means an expert, but it is something that I do very regularly as part of blogging and sharing the hobby with others on social media platforms.

Generally speaking, the purpose of digitally editing a photograph of your miniature is to clearly show what you have done with it. This involves enhancing the image to show what is already there; not to add something new*. Often the lighting used, as well as other factors, can take away from what you have done. I often read the comment "the photo doesn't do the model justice" in reference to this. This post will hopefully provide some ways to avoid that.

General Advice:

Games Workshop has released some pretty good tips on how to set up a good photograph; it is worthwhile reading what they say about it, particularly in relation to lighting, the "golden angle" and f-stop settings. 

Here are a few personal tips:

  • You want to light your model so that shadows won't distract from the figure and so that there is no detail on the figure that is completely hidden by shadow. 
  • White paper is a good background that helps with editing later on, though for my blog I use a more elaborate screen.
  • Clean your camera lens before taking a shot. 
  • If you have a tripod for your camera, use it and set the camera on a 10 second timer. This eliminates any shaking you would get from pressing buttons to capture the image.
  • Generally speaking, photos taken from further away are better than those taken up close. Make sure the camera doesn't cast a shadow over the miniature!
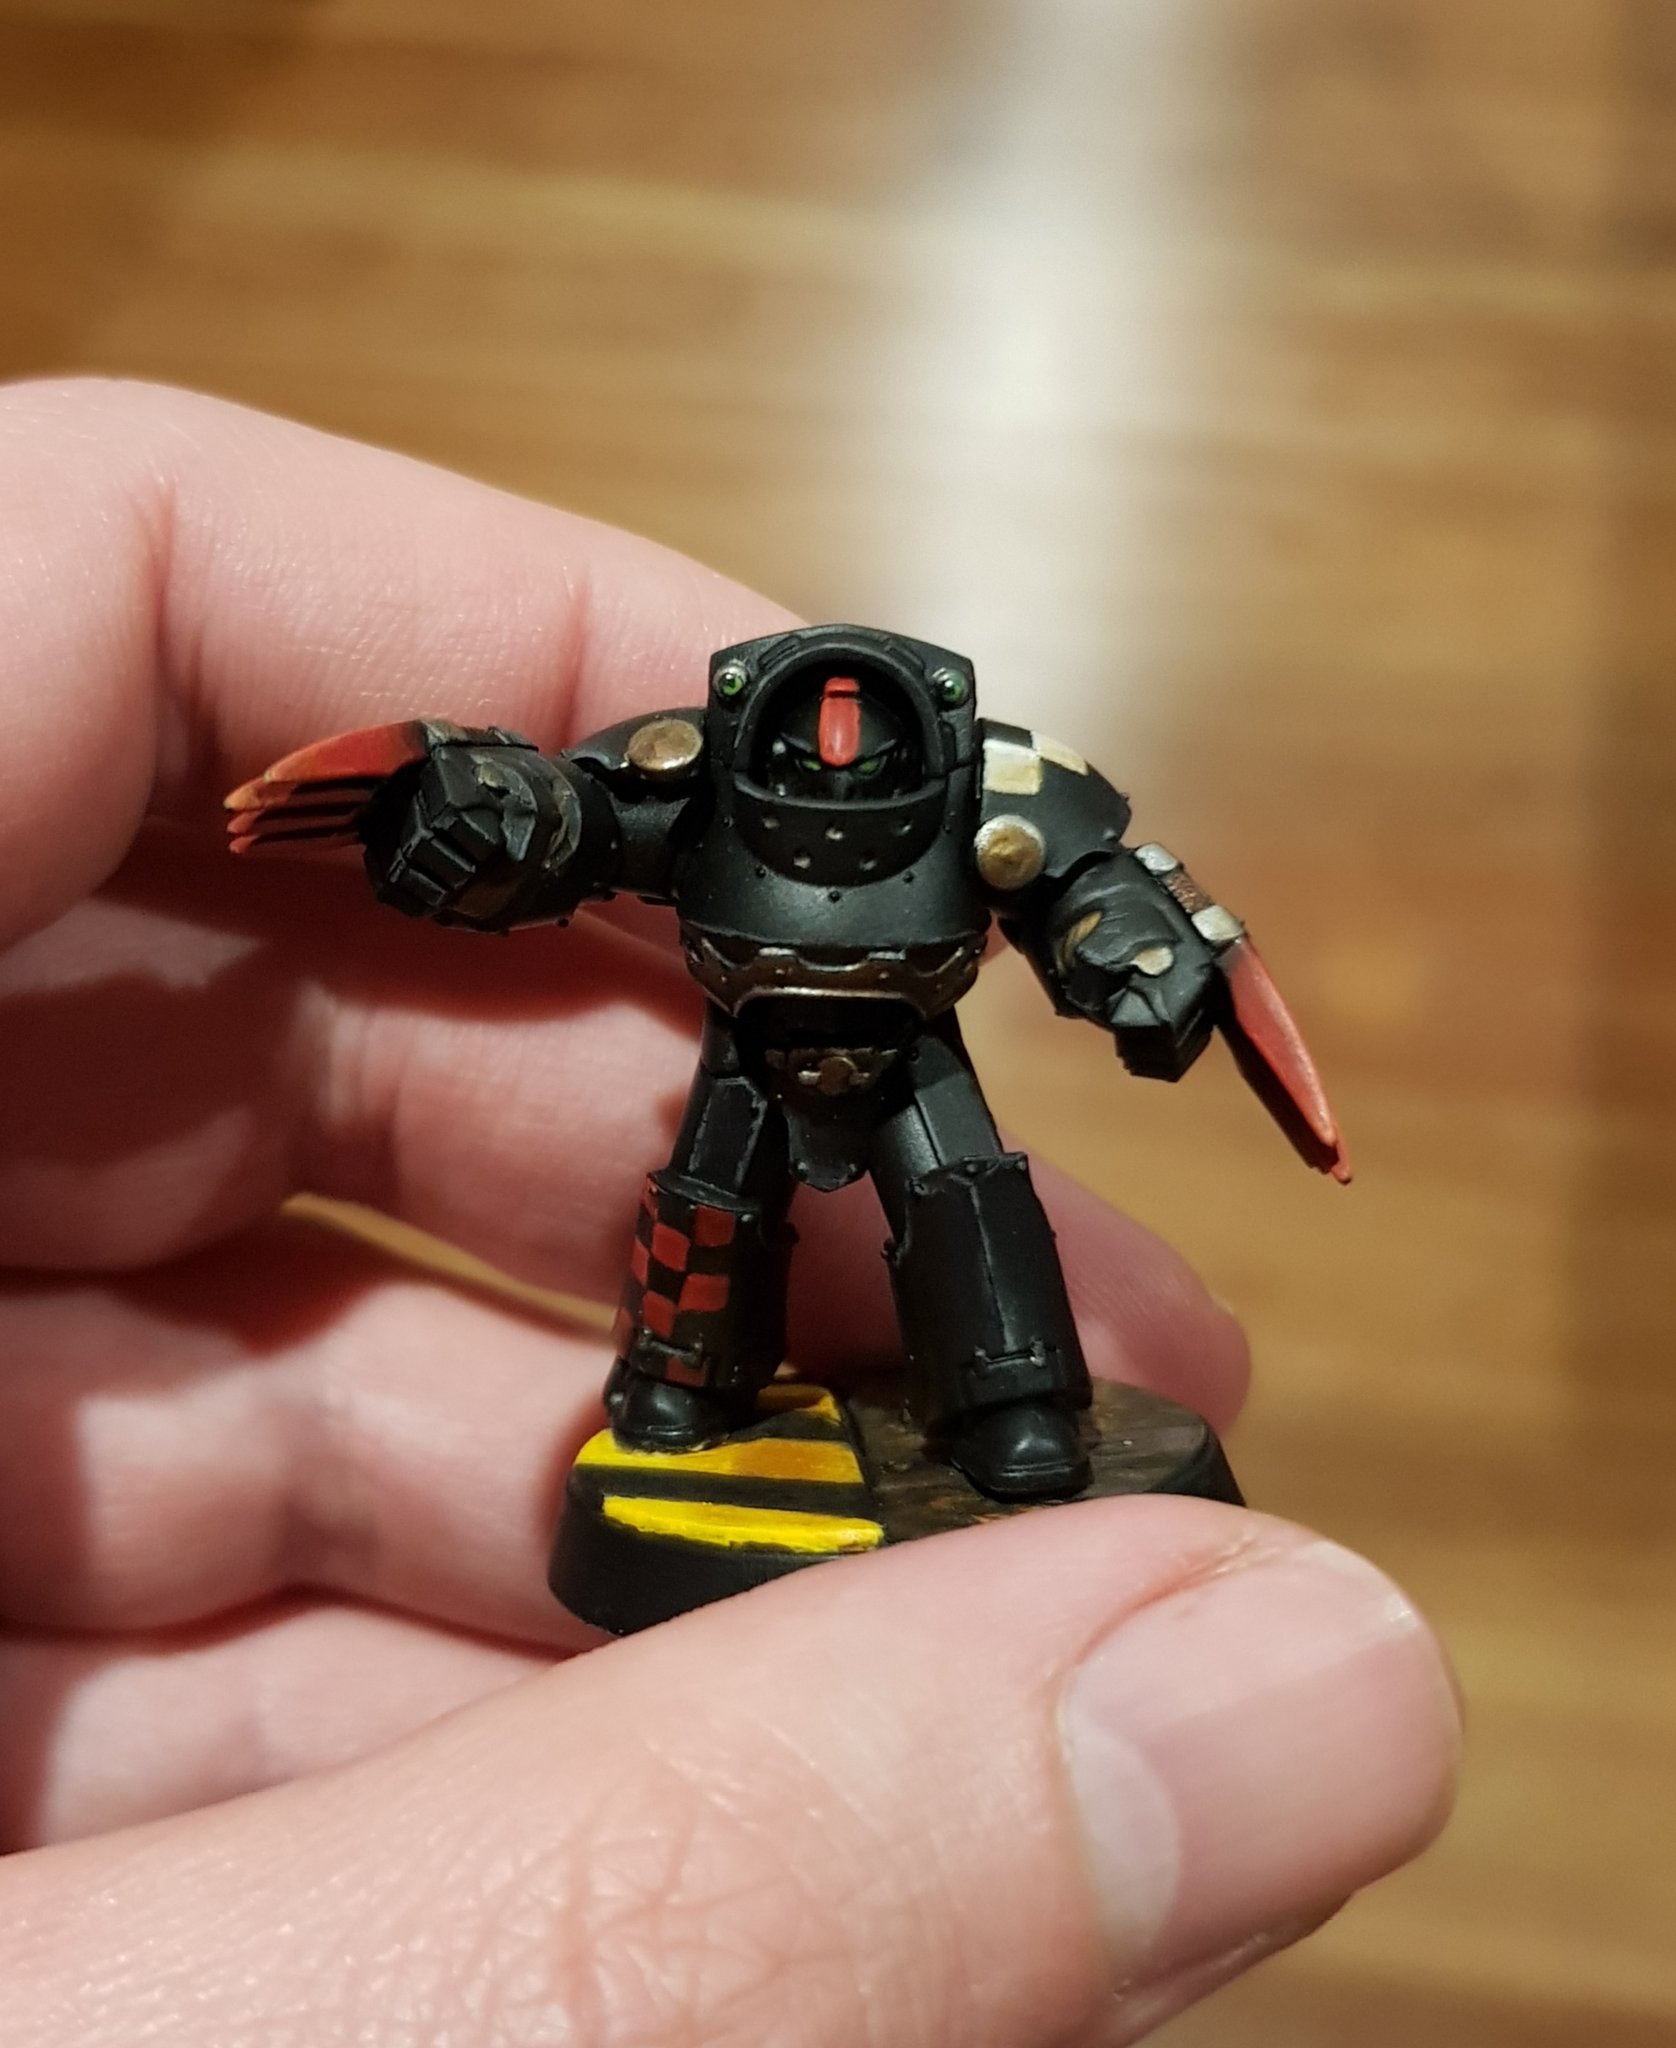
Here is my setup for this tutorial: one light only with the shot taken on a Samsung 9 smart phone, one-handed from about 70 cm away (from behind the lamp).


The photo I will be editing is this one:


There are quite a few digital editing web apps you can access on the net. My go-to is Pixlr X. To use it you will need to upload the photograph (read the privacy information if you are concerned about doing this). It will ask you to pre-size the image; I always use Ultra-HD.


Once you have loaded your photo, you will have access to a sidebar of editing tools on the left. For most photos, I only use two tools; the cropping tool and the adjust tool.

Crop the photo so that the focus of your shot is in the centre of the image. This is also good for removing things at the edge of the photo that you don't want (like the side walls of the light box).


The Adjust tool allows you to modify quite a few aspects of the image. I only play with Light and Color. As a rule of thumb, I start with Light first, then adjust colour once lighting is how I want it. The Color tool also allows you to add colour effects that aren't actually there, which is usually something you don't want to do*.

Light Tools:

  • Brightness: arbitrarily increases the brightness of the shot at the cost of contrast and saturation of colours. If you have poor lighting you will be jacking this up quite a bit. Avoid turning white portions of the model into blazing suns of doom: they should be as bright as what you can see on the physical miniature. For illustrative purposes, I pushed this a little too far so you can see that some detail is being lost due to brightness (look at the snake motif). Don't push it too far!
  • Exposure: artificially modifies the image to make the most of the light you did actually collect in the shot. Play with this setting to see if it brightens your shot while looking more natural. I usually use this in combination with brightness, though in this shot it didn't look any better, so I set it to 0.
  • Contrast: makes the light parts lighter and the dark parts darker. If you have lit your model up like a Christmas tree there is a fair chance you have removed some contrast that should be there from the paint job. This tool can help you put it back. If you push it too far, though, you will add contrast that was never there in the first place. This may make for a pretty picture, but is not a true representation of the model (if that is what you were after).
  • Black: makes the black sections blacker. Good if you jacked up the brightness and your blacks are starting to look grey. Bad, because if you push it too far the deep details may get lost in shadow.
  • White: makes the white sections whiter. Good if you have painted clean white but lighting has made it look grey, or you dropped the brightness and need to brighten the whites selectively.
  • Highlight: like the "White" tool above, though it is less selective. This will boost your lighter shades and edge highlighting. Push it too far though, and again you get more contrast than you actually achieved with the paint job.
  • Shadows: the same as the "Highlight" tool but for the darker shades. 

Final check: anything white should actually look white. This is where having a white background helps.


Colour:

Colour has a whole heap of settings you can play with to enhance your image. Here is a quick rundown of what I focus on. 

  • Vibrance: as the name suggest, this makes the colours a little more vibrant. I use this tool to replace vibrance lost due to lighting or other setting I have changed. Again: play with it until what you see on the screen looks more like the physical miniature.
  • Saturation: increases the intensity of colour in the image. Red things become RED!!! If you feel like your carefully layered reds are lacking in photography, this setting is your friend. Some folks like to oversaturate their photos just as a form of artistic expression. My suggestion: do what you like. If you want a natural looking shot, you probably don't want to be too heavy on this setting. Lighting a model well will tend to desaturate it, so I often add a touch back in. The result, due to my background and warm house lights, makes the image too "warm" though.
  • Temperature: the "colder" and image is the whiter the light. If you are using warm light from household globes, you may need to reduce the "temperature" of the image. If you are using fluorescent globes, you may need to increase the temperature. My pictures, particularly after adding some saturation back in, are often too warm. I can tell because white parts look a bit yellow! Reducing the temperature counteracts this.
  • Tint and Hue: I don't usually touch these, as they dramatically change the colours in the image. On rare occasions it has helped me under really specific lighting situations, i.e. when the sun is setting so my gaming board looks like it is on fire, or when it is cloudy outside and I am getting blue lighting. If you are lighting with a lamp, this shouldn't be a problem. Have a play with them anyway, just to see what they do.

Final check: anything white should actually look white. This is where having a white background helps.


Once you have changed your settings, press "Apply". Pressing "Save" will prompt you to download the edited image. Give it a useful name (e.g. Dreadnought left side etc), it saves time when you want to share a certain photo/aspect of the model. I save them as a JPEG file and set the size of the file between 1 and 2 MB. This reduces upload time for you and download times for other people. Obviously, the smaller the file the less resolution, so choose a size that suits the purpose of the image.


Here is a final comparison of the initial and final image:


In this case, the initial image wasn't that bad, and I have intentionally increased the brightness a touch too far, but I am sure you can see the differences between the two. Try Pixlr X for yourself and enhance a problem photo, just to see what it can do!

*Really, though, feel free to do what ever you want: it is your hobby.

See you across the table,

Marc