Sunday, 9 February 2020
Iron Snakes: Storm Eagle Basing
Hi folks,
With the underside of the base reinforced, it was time to work on the top surface. In some ways, basing a large model is like producing a piece of battlefield terrain. I prefer to model natural environments, mainly jungles and forests, and my experience with those has highlighted the importance of layering. When you walk through a forest you will often notice that the vegetation occupies the space in layers.
In alpine regions you may find miniature versions of this, entire forests where the emergent is no taller than a few centimetres.
I wanted the base to reflect this, with distinct forest floor and understory layers. Bridging the two I planned a middle layer with some young ferns, a ruined Ithakan statue and a... tortoise. The very nature of a layered project makes the order in which parts are added very important, so I thought it would be interesting to record each of the stages. Once again, it looks very bad for a long time before coming good at the end!
1) Painting
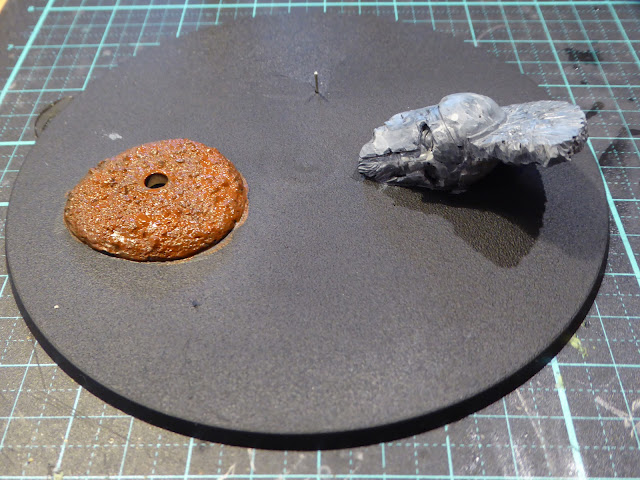
To start with I added to the base any parts that were going to form the base of something else. I painted the base of the ferns brown with a dark green wash. I then spent a considerable amount of time painting the ruined statue to make it look old and weathered, with green shading on the bottom half to represent algae and moss.
2) Large Ferns (well... cycads)
I had some large plastic ferns that the wifey bought me from Schleich. You know you have been in the hobby for a long time when everything looks like 40K terrain. It is even more efficient when your partner starts thinking the same way too! I painted them a little darker than the original green, but with lighter highlights, and a slightly brown underside and on the edges just to be interesting. I also used the top of an old metal spore mine to add a reproductive cone to the top (like a cycad).
3) Flocking
At this stage I glued the flying stand in place using 2-part epoxy resin. The grid on my portable hobby tray really helped with lining it up. After that I flocked the whole base with my special mix, and added the smallest cycad behind the ruined statue.
4) Dressing the Ruined Statue
To make the statue look like it has been in a forest since antiquity (perhaps not that long), I wanted to show some plant material getting caught in the top surfaces. I started with a sprinkle of brown flock on the top surfaces, followed by static grass after the flock had completely dried. Putting flock where it doesn't usually belong is a great trick for making something look like it has been reclaimed by nature. I followed that with static grass clumps around the base to add to the forest floor layer.
5) The Tortoise!
My neighbour gave the kids a big bag of toys the other day, which included this cute tortoise. They were both happy for me to use it on the base (I think it made the giggle on the inside). The only problem was it had a serious mould line running along the head and neck, which would be the most prominent part visible. So I sculpted over the top of it with green stuff and matched the colour with my paints. While he was setting, I did the next step, then tucked him under one of the big cycads.
6) Little Ferns
To fill the flat empty space to the front of the base, and add a final component to my middle forest layer, I added some laser cut ferns. They are, by far, my favourite basing material.
At this stage I let the base dry overnight. The final product has the layers that I wanted, with a mixture of natural and man-made things, some old, some mature and some young.
With the base done, there is nothing more to do except put the Storm Eagle on the flying stand. When that is done I'll take some photos and celebrate the end of an epic project!
See you across the table,
Marc
Subscribe to:
Post Comments (Atom)


Superb looking Base mate! Nice Jungle Snakes! ;)
ReplyDeleteThat looks really good and I love the statue head.
ReplyDelete